Recently added item(s)
TRASH TO TREASURE – THE ULTIMATE GUIDE TO RE-PURPOSING JUNK
Welcome to another Wacky Workshops project.

I know, you just can’t possibly get rid of that stained shirt. It’s the shirt you wore the first time you took a bus to the city and talked to that stranger who knew your crazy cousin Ed.
Oh, and that lonely earring. You lost the other one four years ago but it could still show up, right? It’s your lucky earring. The last time you wore it you found a shiny five cent coin on the ground.
We all have things we can’t manage to let go of when trying to de-clutter our spaces. Often they are silly, useless things that are loaded with some sentimental meaning just for us.
The only way to deal with these things is to transform them into something useful. That way you can still enjoy the wonderful memories they bring instead of having them take up space in your wardrobe or jewellery box.
TRANSFORM YOUR TRASHY ‘TREASURES’ INTO GLAMOROUS GOODIES

You don’t have to be an artist or craft master to turn your loved junk into glamorous treasure. A few materials and a little imagination are all that is needed for these easy transformations.
TRASH TO TREASURE – LET’S GET STARTED

For the stained shirt, the way-too-tight skirt, the torn trousers, the baby clothes from three decades ago that you cannot get rid of;
- Old shirts make wonderful paint shirts for the grand-kids
- All old clothes can be a great addition to the dress-up box for the kids and baby clothes are awesome dress ups for dolls
- Try transforming that shirt or jumper into a pillow cover (just be sure the stain isn’t showing!)
- That really special baby jumper/ shirt can be put in a box frame with the child’s photo and some birth details
- For the clever sewers out there why not put a few of your favourite clothing items together and make a beautiful blanket? A friend made one for me and each section had special meaning to me personally or to our friendship, including using materials I had given her. She even added a few charms to make it extra special. Such a beautiful gift!
- Another great way to keep the memory of a special piece of clothing is to use scraps of it to decorate boxes or containers. These make a wonderful way to present gifts or just to keep your own treasures in.
- Fabric bracelets are another fun way to honour the memory of a special piece of clothing and are fun to make with the kids. Click here All Women Stalk for some great instructions.
TRASH TO TREASURE – JEWELLERY/ TOYS/ KEEPSAKES
AND OTHER STUFF YOU CAN’T THROW OUT
- MAGNETS
A really quick and easy way to transform jewellery and other odd bits is to put a magnet on the back. Now you have a lovely (and useful) way to display it.
- EVERYTHING FRAMES
If you have several things you have to keep try glueing them onto a wide frame. This is another fun project with the kids. They can even glue some of their favourite toys to the frame.
Once done the whole frame can be spray painted your favourite colour. You can even add some glitter and bling.
- STEPPING STONES

I use this one a lot as I love stepping stones in the garden. You can use a foil pie dish to make your own or buy them ready made and add a layer of cement to hold your treasures.
TO MAKE YOUR OWN
Mix the cement as directed.
Carefully place your treasures in the bottom of the dish.
Cover with cement and allow to dry.
When it’s dry, turn it over and remove the pie dish. Your treasures will be embedded in the stone.
- PLANT HOLDERS
You know that pot in the back of your cupboard that the friend whose name you can’t remember gave you for your wedding? The one you haven’t used in two decades? Why not turn that into a stunning and stylish container for plants?
- IMAGINATION FUN
It’s funny where ideas for trash to treasure projects come from. The four-year-old Goddess was helping me put away clean dishes recently. When she was taking a set of tongs to the drawer she started opening and shutting them and saying ‘snap, snap’.
It was at that point I remembered I had some mini tongs that I kept meaning to throw out. They originally had silicon tips but this was long gone so they didn’t grip well. For some reason, they kept ending up back in the drawer instead of the bin.
NEVER SMILE AT A CROCODILE

LOOK HOW WE TRANSFORMED THIS TRASH TO TREASURE –with just a few crafty things I had on hand
SUPPLIES
- Tongs
- Green paper (we used crepe)
- White cardboard
- Scissors
- Glue
- Tape
- Googly eyes
- Green pom poms (optional)
METHOD
- Cut the paper into two pieces that are four times the length of the tongs and wider than your hand.
- Cover the outside of one tong arm in glue
- Place the outside arm on top of and in the middle of the paper
- Cover the inside of the arm in glue
- Fold the paper over the inside of the arm then fold the corners into the centre, covering the inside arm right up to the join forming a triangle shape as per picture. You should have paper sticking out from the tongs.

- Repeat the process with the other tong arm then glue the leftover paper together at the sides, leaving a pocket for tiny hands to manipulate the tongs.

- Glue the side edges of the paper together

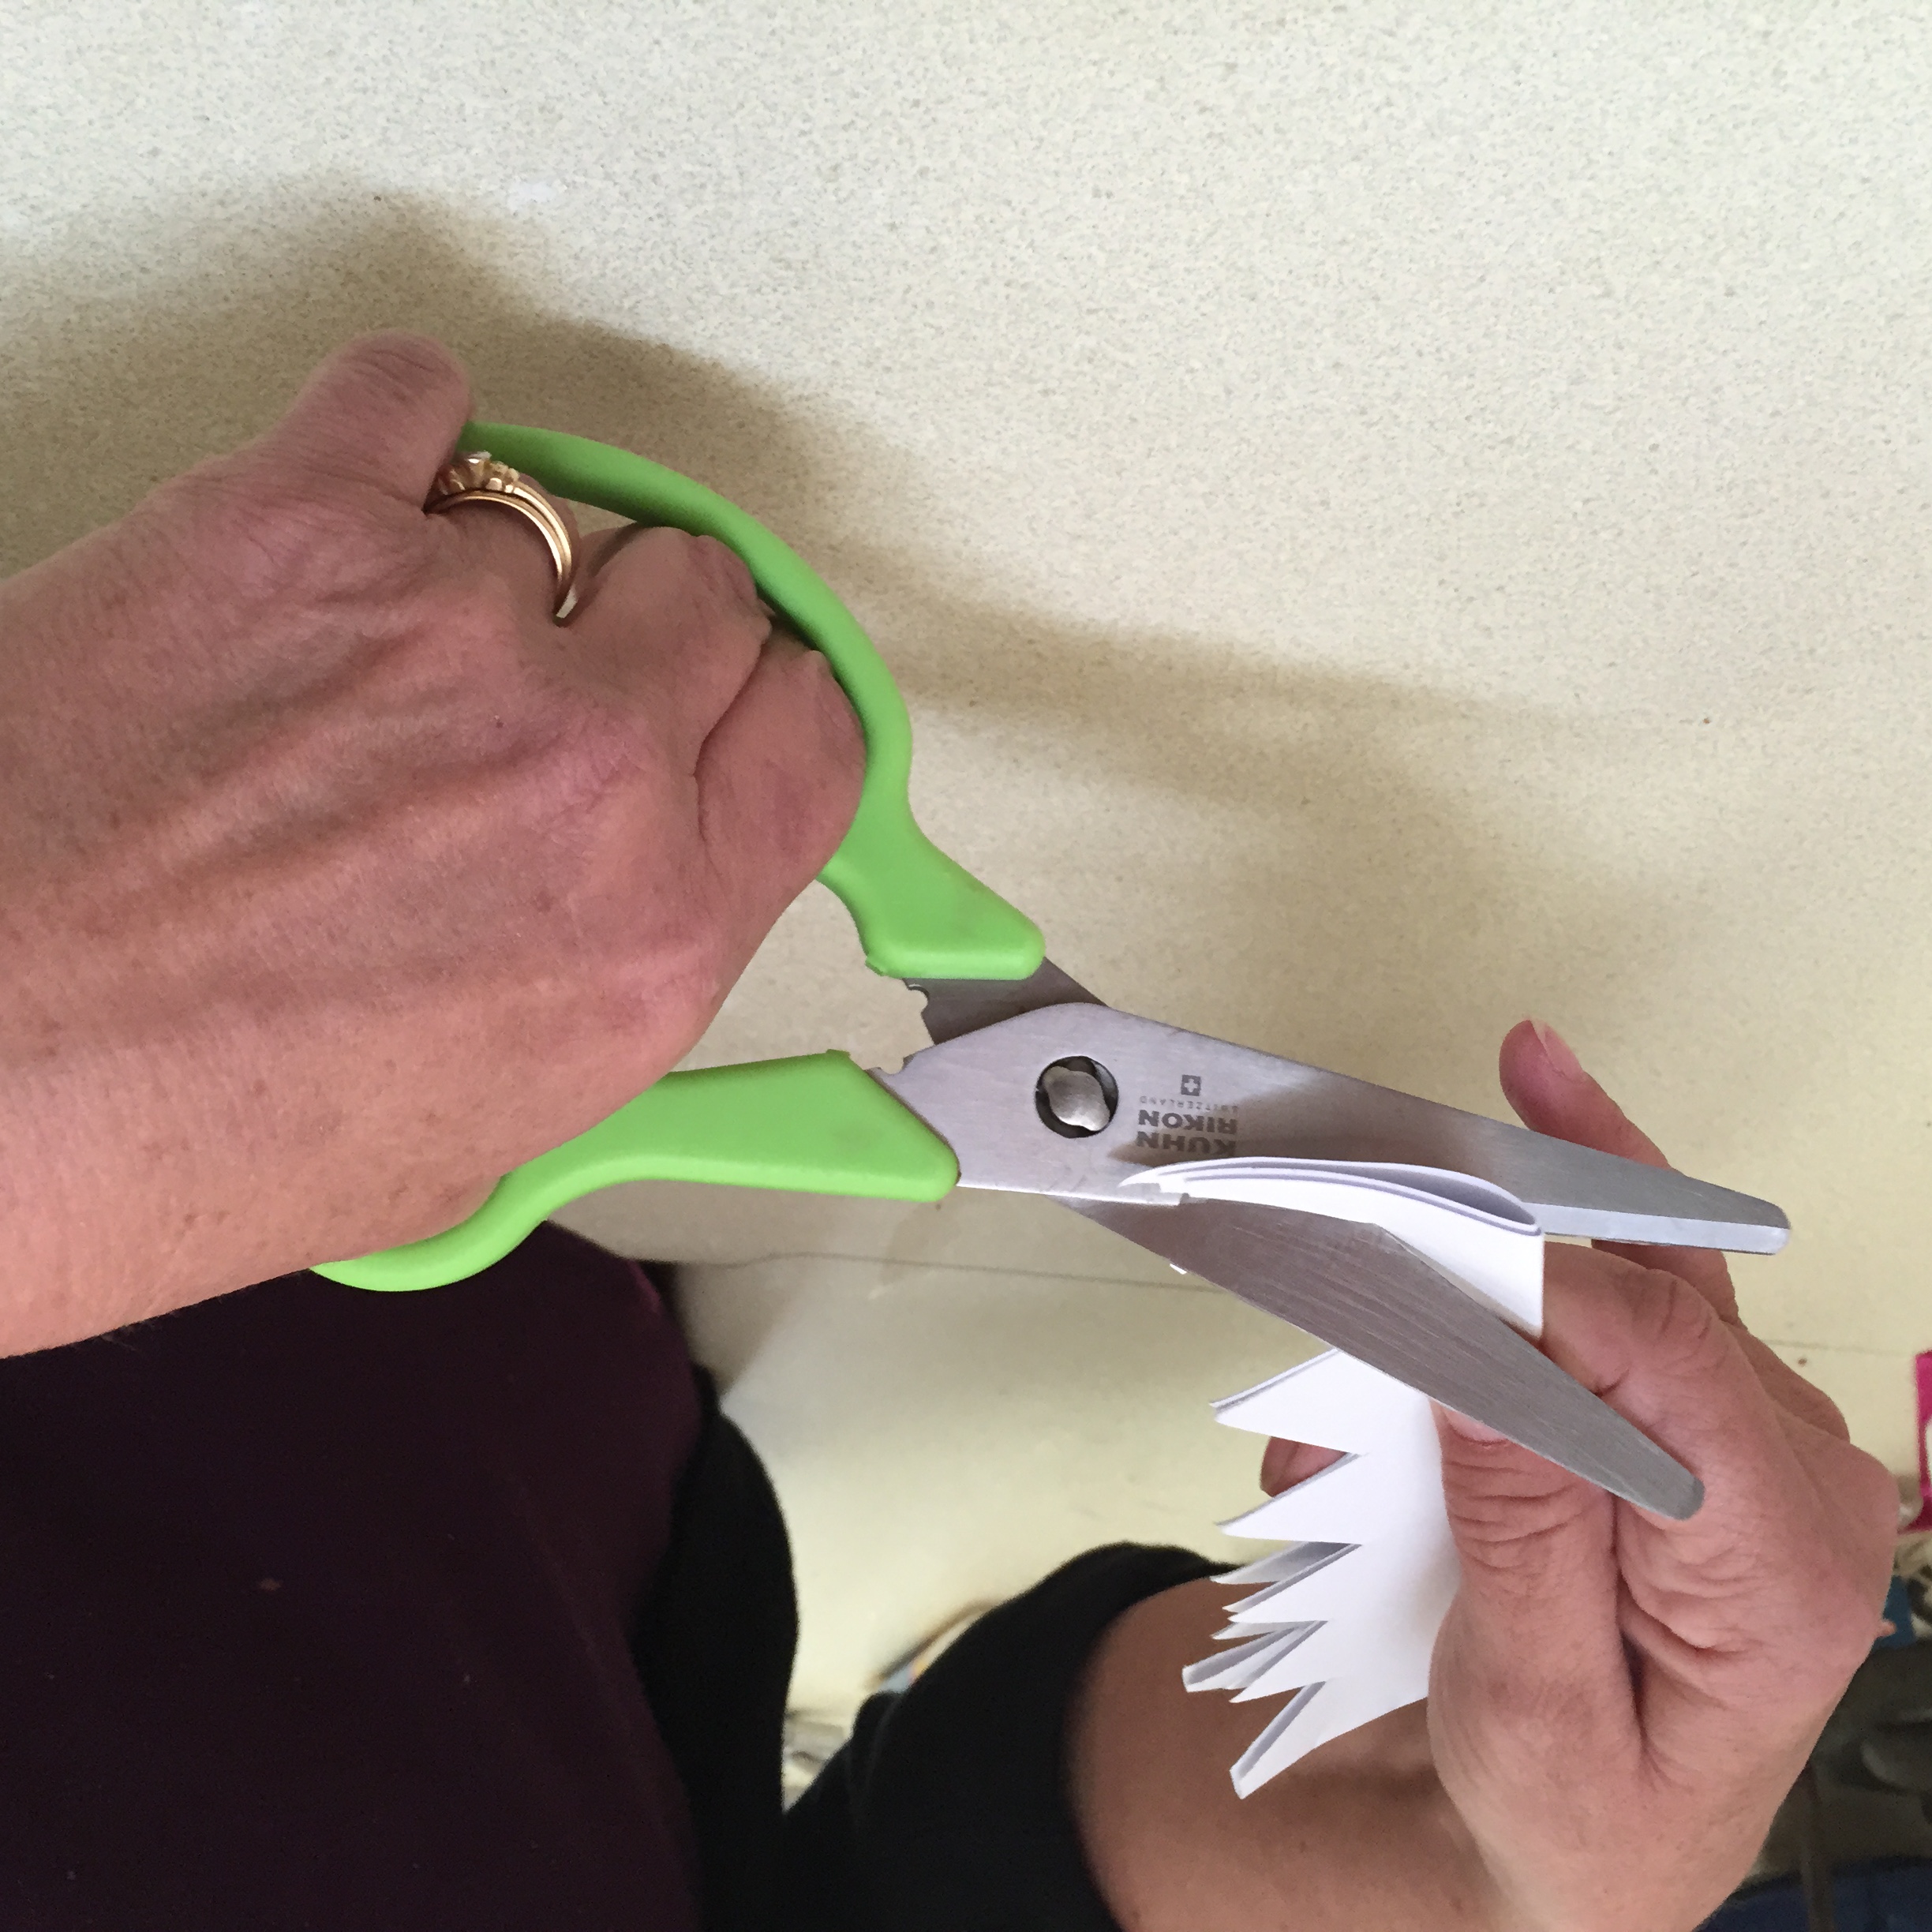
- Cut the white cardboard into two strips the same length and width of the tong arms.
- Fold in half, lengthwise and cut a length of ‘teeth’ with a zig-zag line

- Unfold and cover fold line in glue and stick down on the inside of tong arm. Do this for top and bottom ‘teeth’.
- Glue on green pom poms (if you have them) and then googly eyes on top.
- Have fun playing with the snapping crocodile.

Did you find this post helpful? Do you have some great trash to treasure tips to share?
Happy crafting and have a gleeful day, Tamuria
Jenn @BecauseImCheap (@BecauseImCheap)
September 7, 2015 at 11:10 pmGood morning, Tamuria!
Stopping by from the Sunday Blog Hop. Thank you so much for sharing this great guide! I especially love those stepping stones and the puppets are a really fun idea too. There are so many thing filling landfills that could be repurposed into beautiful treasures. I really need to step up my game and start utilizing things I’ve considered trash!
Thanks again for sharing and I hope to see you again next week 🙂
tamuria
September 8, 2015 at 2:01 pmThanks Jenn. Glad you enjoyed the ideas for re-purposing. I enjoyed being part of Sunday Blog Hop and will be back for sure. Thank you.